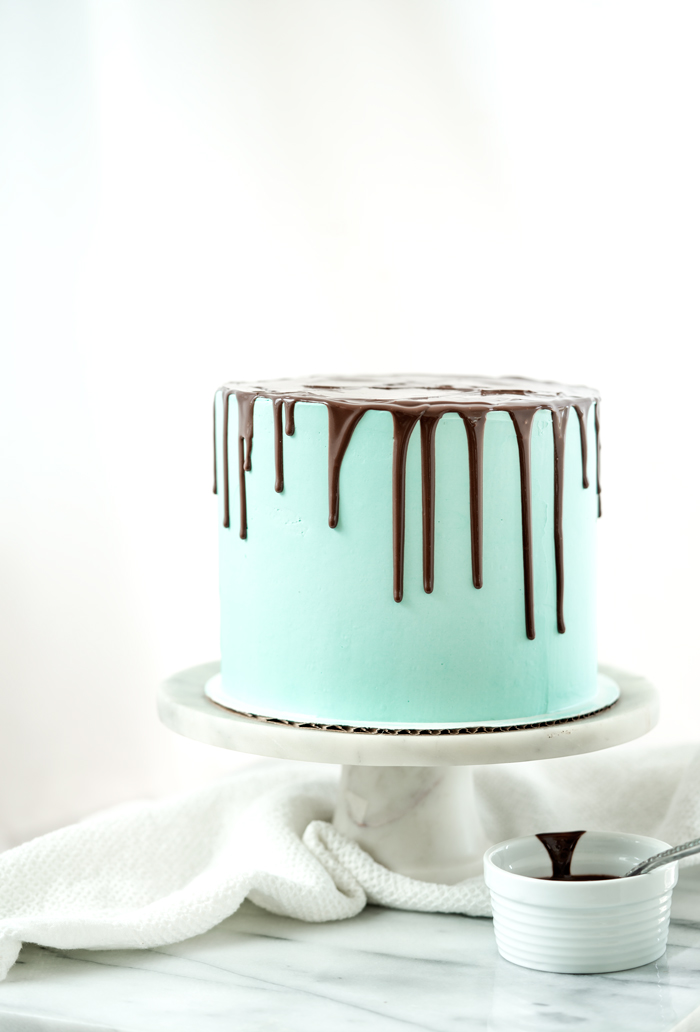
I’m showing you how to make a Drip Cake with photos and my drip ganache recipes.
Drip cakes are here to stay! You’ve seen plenty of them on this blog and probably thousands more across your social media channels. A drip cake symbolizes edible decadence and fun! I just want to swipe my finger through those drips to get a taste. 😉
We can’t talk drip cakes though without first mentioning the ganache that makes it all possible. Yes, those drips are made with either white chocolate or chocolate and heavy cream. Just those ingredients has us off the right start. The right amount of each ingredient is important for the right consistency. Too runny and your drips will break as they travel down the cake. Too thick and your drips won’t drip much. Below in this post I provide my favorite drip ganache recipes to help you get started. Now onto the how to’s of a drip cake.
HOW TO MAKE A DRIP CAKE:
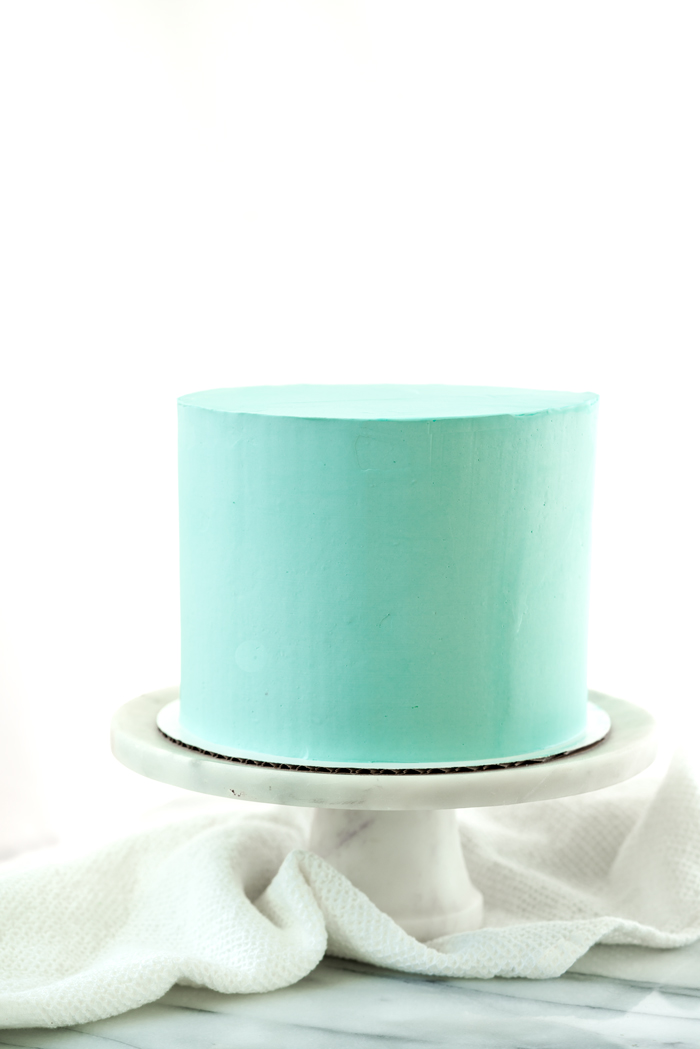
- Fully chill your cake so the buttercream does not melt from the ganache. At least 45 minutes.
- The ganache should be cooled enough that it won’t melt chilled buttercream but will still hold a drip. If you are short for time put in refrigerator for 10 min at a time and stir, repeat until desired temperature is reached. You can test a small spot on the back of your cake with a small spoon to see how it drips. If needed adjust temperature of ganache.
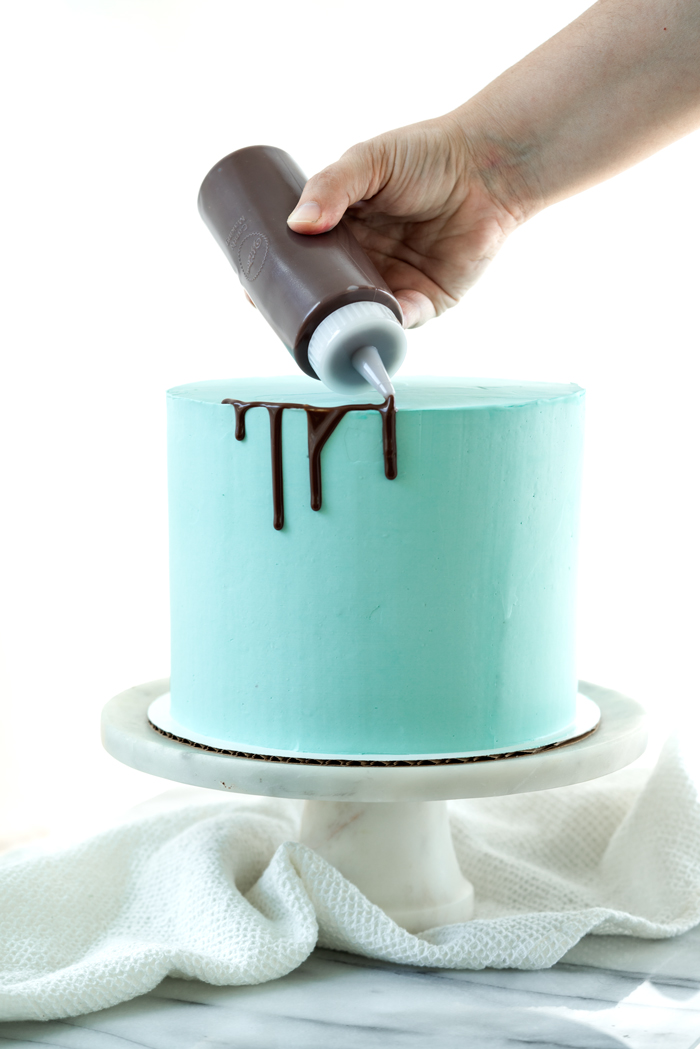
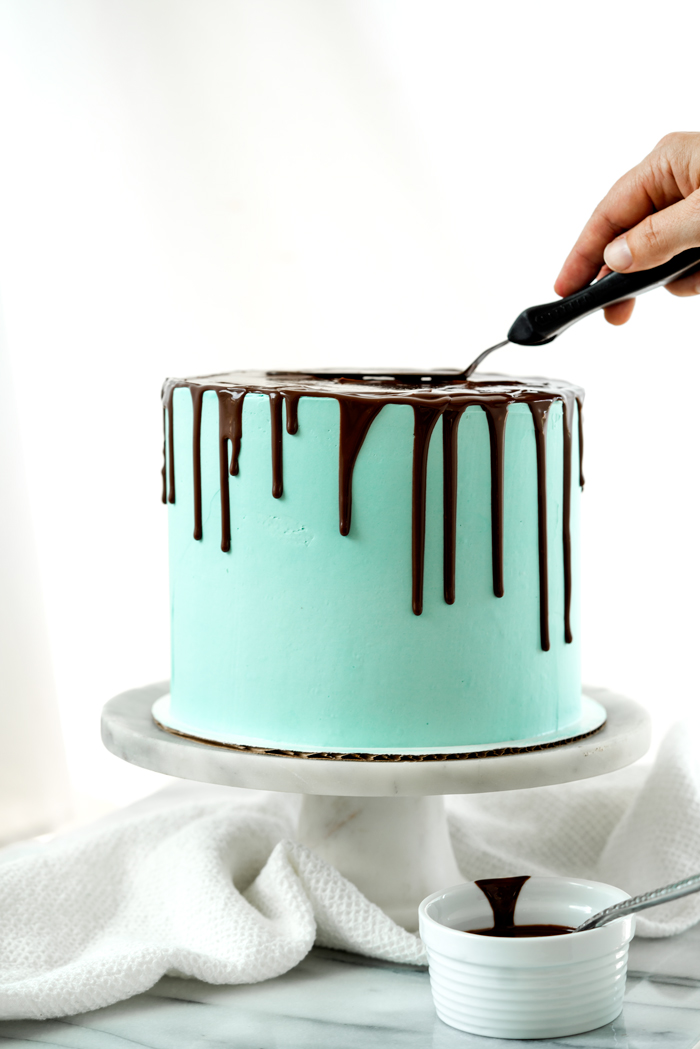
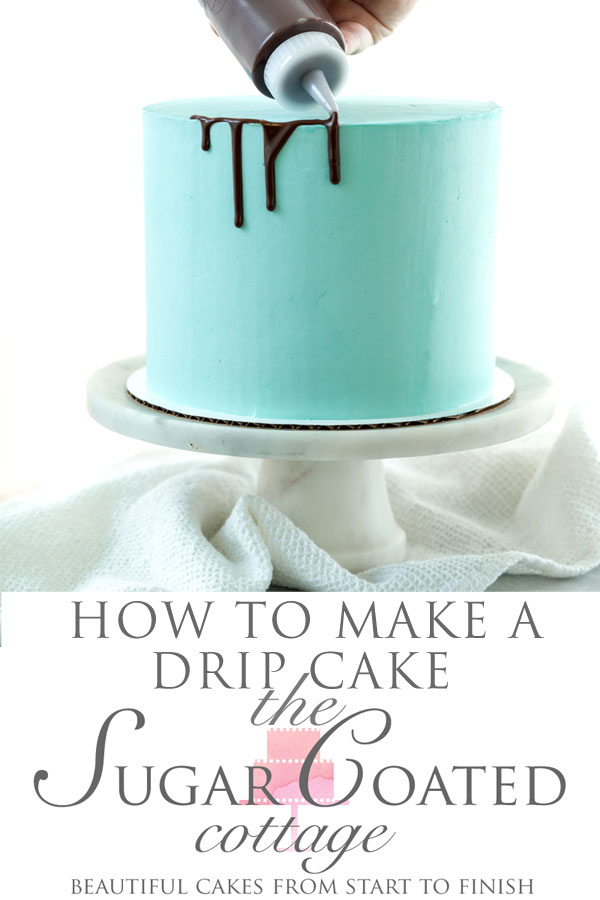
- Using one of the three tools below begin placing drips around your cake by lightly applying pressure as you squeeze until desired drip length is reached (ex: shorter drips will require lighter pressure, longer drips will require a heavier pressure.
- Squeeze bottle – my preferred tool for drip cakes. I feel like I have more control and I can store left over ganache right in the bottle in the fridge when done.
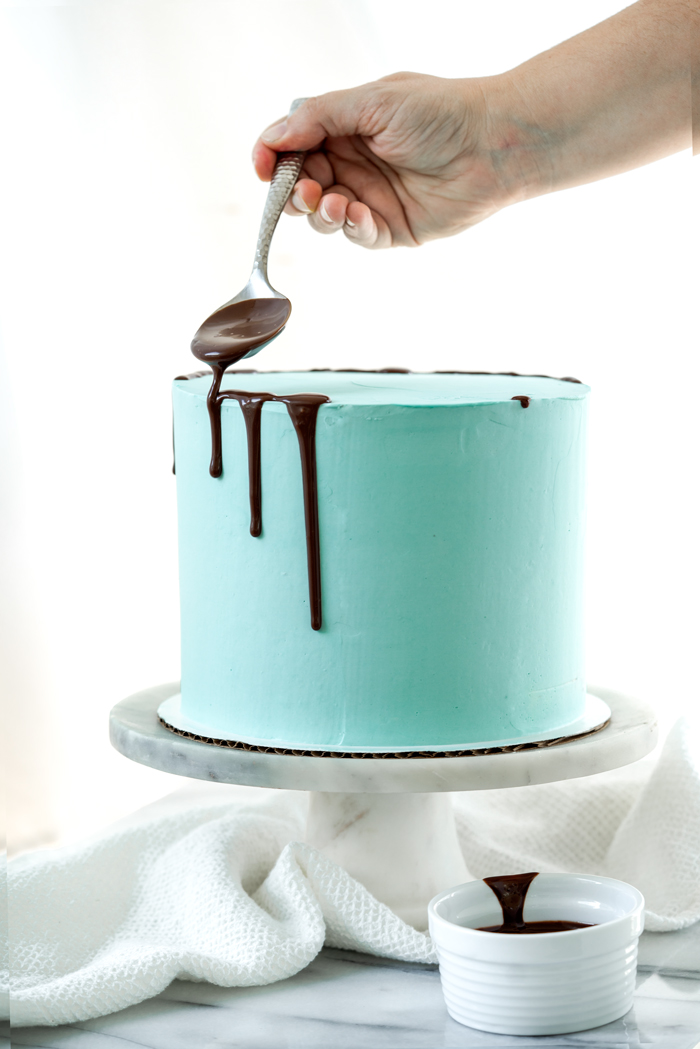
- Spoon – This technique works just fine and offers good control. Unlike the pastry bag and squeeze bottle you cant apply pressure with a squeeze to get the drip you want. Instead you will begin your drip by letting the ganache roll off the spoon onto the very edge of your cake and then down the side. The longer the drip you want to more ganache you will let drip, the weight/heavyness of the amount of ganache and gravity will determine how long or short your drip is.
- Piping bag – This is a nice alternative if you don’t feel comfortable with the other two options. You would follow the same steps of the squeeze bottle. Just note that a piping bag with ganache is flimsy and its not as easy to stop the ganache from coming out once its starts. But with a little practice you’ll get in a rhythm and be fine.
- Finish going around as much of the cake as you want to.
- Cover the top of the cake with ganache and smooth out with off set spatula.
- Chill your cake.
OR….
TIPS:
A. If you want to place sprinkles onto your drips let the ganache set a bit a bit so the sprinkles don’t slide down the drip, always good to do a test spot.
B. Want to use caramel? Same principals apply to caramel as they do chocolate ganache, just note that caramel can be a tad bit thinner to work with than ganache.
There you have it! Your drip cake course! Check out the ganache recipes below.
Enjoy!
Stacey
Interested in more tutorials? Check these out!
How To Create A Smooth Buttercream Finish
How To Fill and Crumb Coat A Cake
How to Make (and fix) Swiss Meringue Buttercream
My Preferred Drip Ganache Recipes:
For Chocolate Drip Ganache –
1/2 cup semi-sweet chocolate
1/2 cup heavy cream
Place chocolate in a small mixing bowl. Heat heavy cream to just about boiling. Pour heavy cream over chocolate, let sit for 1-2 minutes. With small spatula start to stir in the center in small circular motions working your way to the outward. Continue stirring (scraping bowl as necessary) until completely combined and ganache is formed. Let cool, ganache should be able to drip but not be too hot or it will melt your buttercream. If it is too hot it will be too runny, too cold it won’t drip at all.
White Chocolate Drip Ganache (can be colored as desired) –
3/4 cup white chocolate
1/2 cup heavy cream
Place white chocolate in a small mixing bowl. Heat heavy cream to just about boiling. Pour heavy cream over chocolate, let sit for 1-2 minutes. With small spatula start to stir in the center in small circular motions working your way to the outward. Continue stirring (scraping bowl as necessary) until completely combined and ganache is formed. Let cool, ganache should be able to drip but not be too hot or it will melt your buttercream. If it is too hot it will be too runny, too cold it won’t drip at all. If coloring use gel colors and mix to desired color.
PIN IT FOR LATER, you’ll be glad you did!
There may be millions of cakes all over but you really rock ! Thank you for so useful tips dear and enjoy your weekend 🙂
Aww thank you 🙂
I am considering starting a small business of doing Wedding cakes from my home kitchen! Nothing real big though this site will be great for me to learn
Hi Carol! Best wishes to you on your endeavors. I always feel that it’s an honor to be part of someones big day by doing their cake 🙂 . I’m happy your find this resource helpful. Take care and happy baking! 🙂