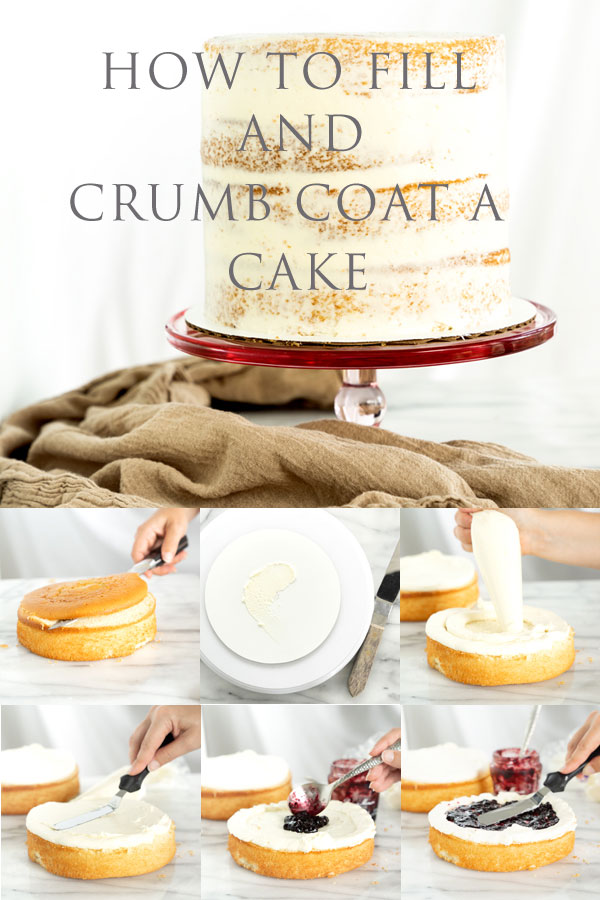
How To Fill And Crumb Coat A Cake. Step by step tutorial on how to properly fill and crumb coat a cake.
We’re going back to the very basics today, why? Because as basic as it may seem the steps of filling and crumb coating a cake are really the most important. These are the foundational steps that can either make or break your cake. In order for any cake to really look beautifully decorated it needs a smooth finish, even layers and a flat top and these steps will get you right on your way to just that. Having this mastered will set a beautiful stage for all your other decorating. So lets get started!
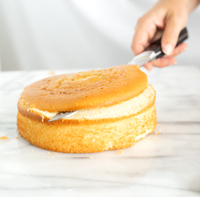
- Cut humped tops off cake layers (split layers if needed). I personally use multiple cake pans, so if I am doing a 3 layer cake, I bake three layers.
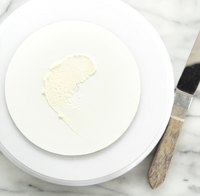
- Spread a dab of buttercream onto cake board, this will hold your cake in place.
- Place first cake layer evenly centered onto cake board.
- Drizzle simple syrup on cake layer (if using).
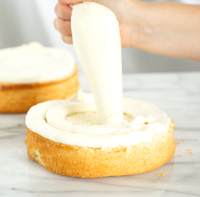
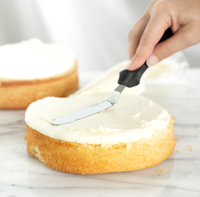
- Pipe on buttercream filling
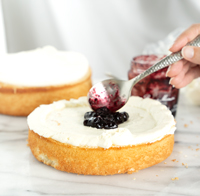
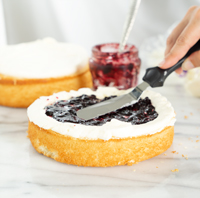
- If using fruit puree/jam or caramel filling, instead of initially piping buttercream around the entire top of the cake layer, you will spread it on with a spatula instead to give a flatter surface area, then pipe a border of buttercream around the outer edge of the cake layer as a barrier. Then spread on your fruit/caramel filling evenly.
- Stack cake layer #2 on top and repeat steps 4 and 5. Repeat with remaining cake layers.
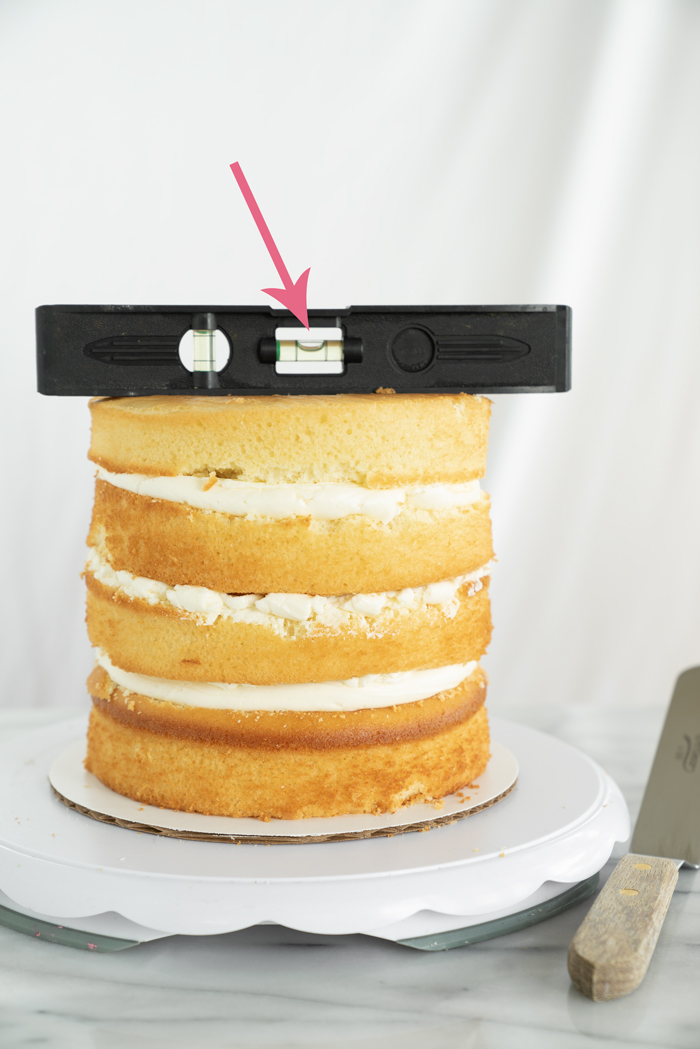
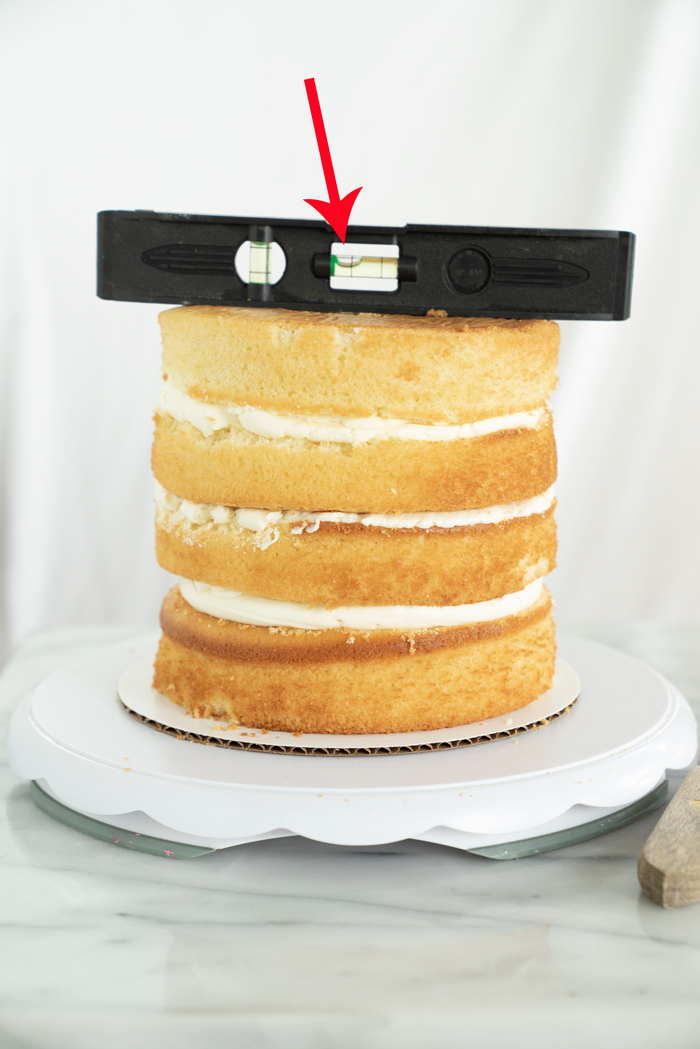
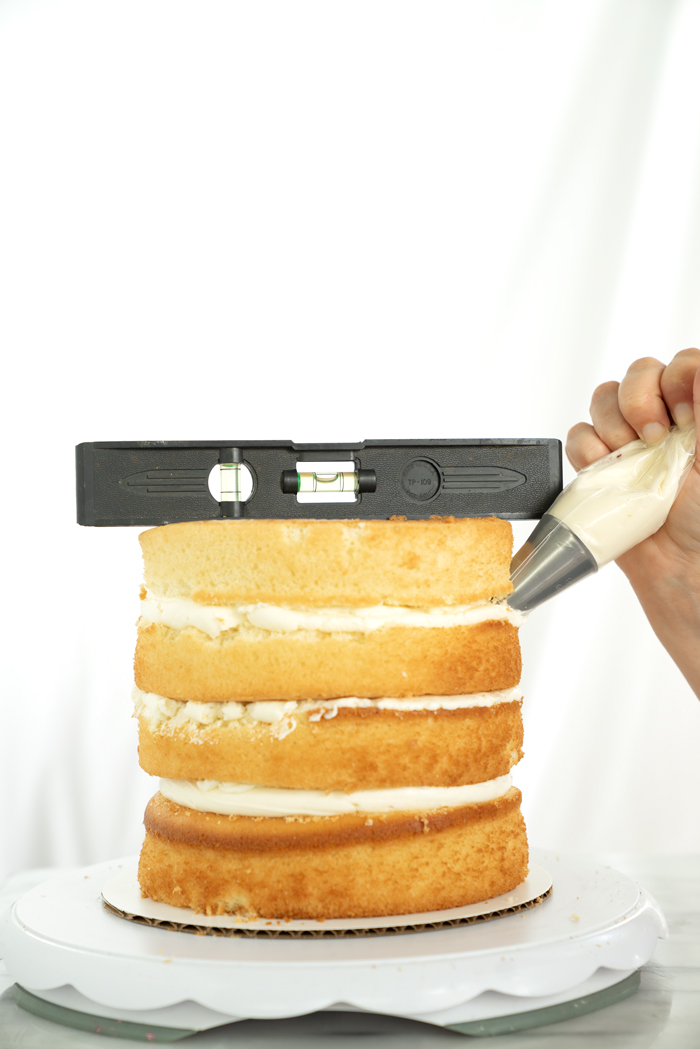
7. Make sure cake is level, see photos below. The first photo with the pink arrow shows a leveled top. However in photo #2 (below) with the red arrow, I gave my cake an half turn and placed the level back on top and as you can see the bubble has shifted to one side of the level, this side of the cake is uneven. So on the lop sided side pipe in some buttercream under the top cake layer (picture #3 below) until the the bubble is level again. You may have to lift the layer up a bit, do so very gently and with a spatula to prevent your cake from cracking.
So now you have a filled, layered and even cake. Lets move onto crumb coating. The beauty of this step is we are not too worried about making the cake look beautiful, our goal here is the maintain straight sides, a level top and seal in those pesky crumbs that will interfere with our final coat (post coming soon) and decorating. Let’s continue.
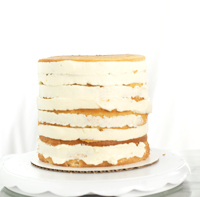
8. Pipe buttercream into the creases of each layer, then pipe or spread with spatula buttercream around the cake. Enough to cover the cake but not too thick, as you can see from the middle picture below some of the cake is still showing through.
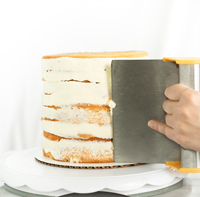
9. Begin to spread the buttercream around the cake with a scraper, cleaning off the scraper as you go by wiping it on the edge of a bowl.

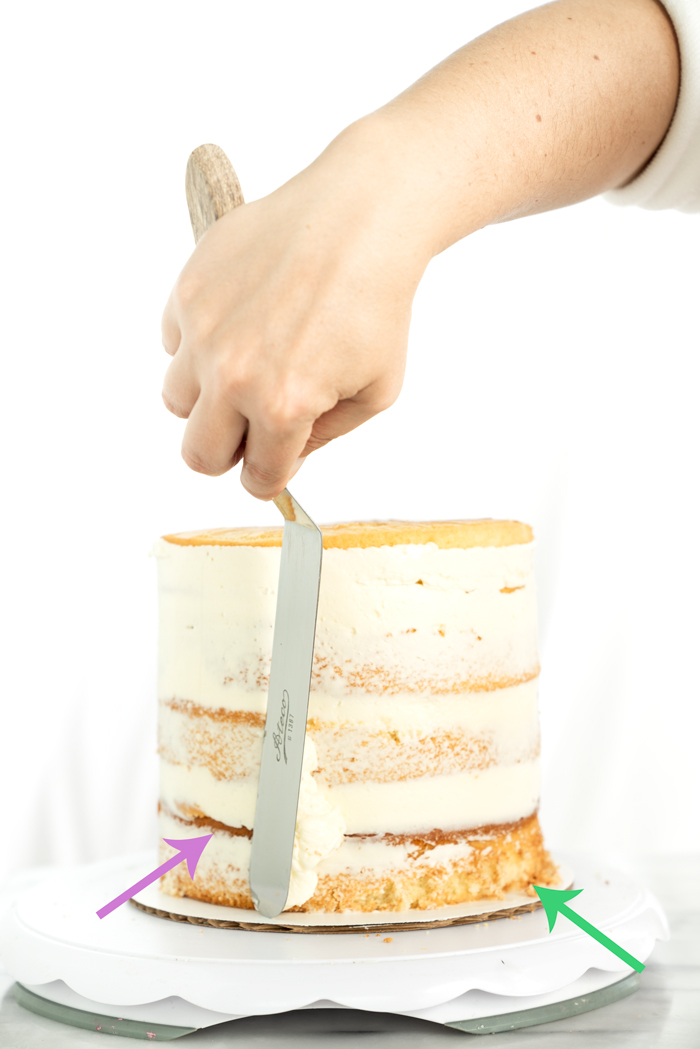
10. Go back with extra buttercream and fill in any gaps, see purple arrow in below picture. As well as spread buttercream on any places that are really crumbly and got missed the first time, see green arrow in below picture. Smooth out.
11. Once all done chill your cake.
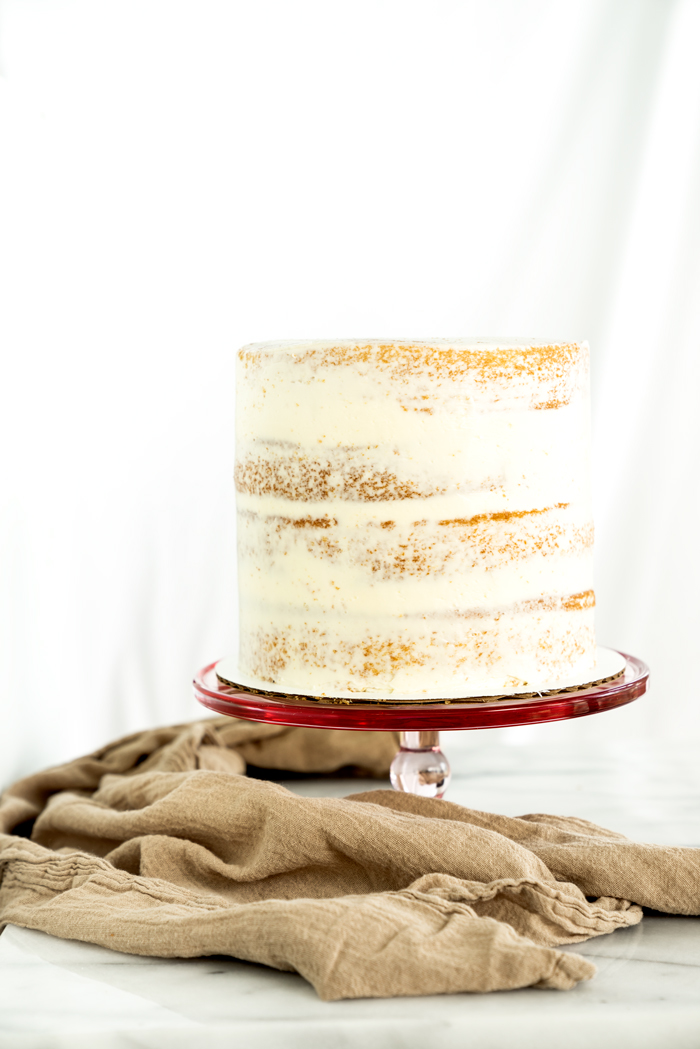
That’s it! You just filled and crumb coated your cake. And one added bonus, you learned how to create a semi-naked cake!!
Notes: Using a level really changed my cake decorating game. It may seem a little odd but sometimes the human eye (at least mine) just can’t catch an uneven side. I chose to go with an inexpensive level that can easily be washed and cleaned of all the cake bits that get on it. And you probably guessed it but I only use this one for cake, it never sees the inside of a tool box 😉 .
Take care,
Stacey
Want to know the ins and outs of Swiss Meringue Buttercream? Check out this post How To Make (and fix) Swiss Meringue Buttercream.
PIN FOR LATER! You never know when this could come in handy! Thanks.
Amazing ! Pinned
Thank you 🙂 !!
Can this be done the day before (with a jam filling) and then have the final layer of buttercream frosting put on the next day?
Hi Donna, Absolutely this can be done the day before. Once the crumb coating is complete I would refrigerate the cake till chilled and then wrap with plastic wrap to protect it. Chilling it first will firm up the buttercream and your plastic wrap won’t stick to it directly :-). Take care!