Spring Inspired Gumpaste Flowers Tutorial. These edible spring flowers add a bright touch to cakes, cookies and cupcakes. Check out the full tutorial with video!
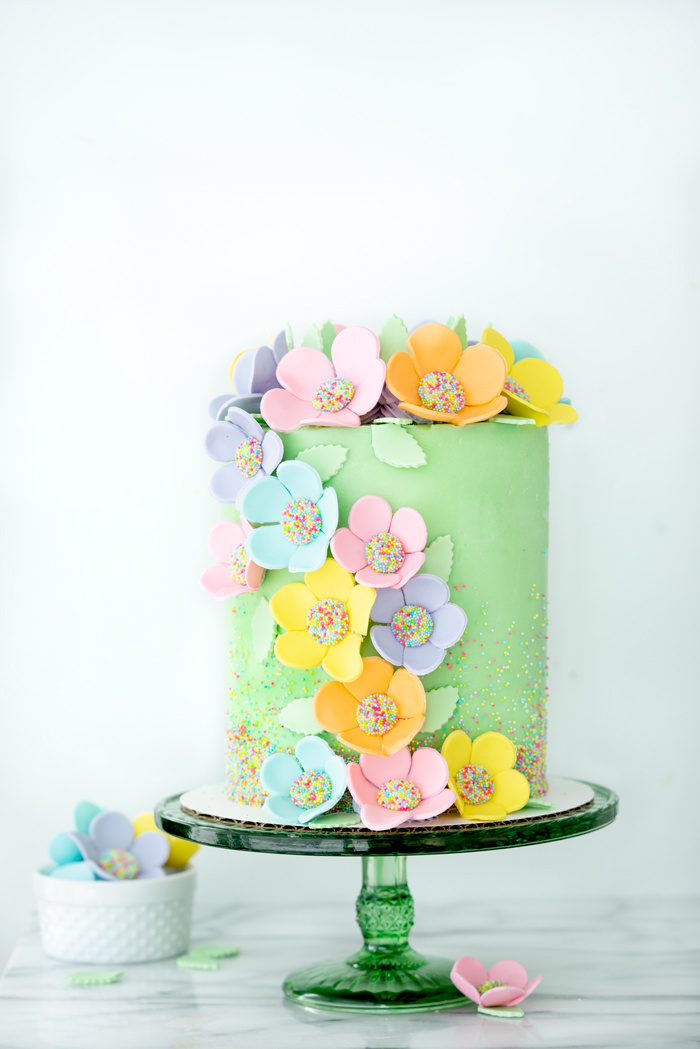
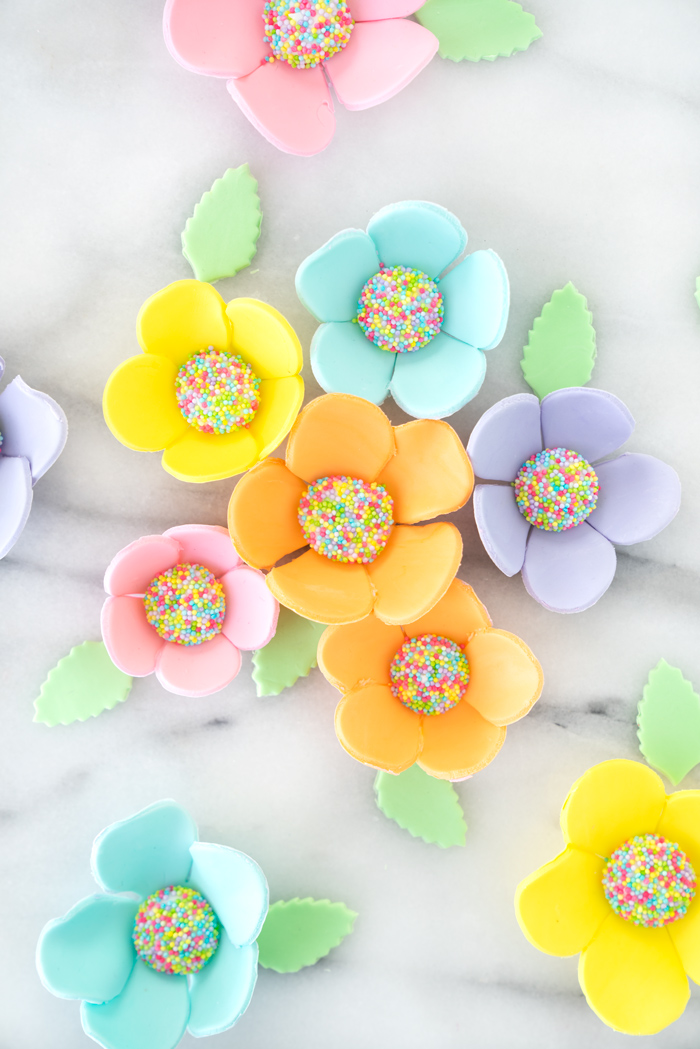
So I know channeling spring may be a little premature on my part but I needed some fresh colorful pastels even if they are made of gum paste. These little flowers will add a fresh fun pop of color and beauty to any cake, cupcake or sugar cookie (or whatever you want to decorate with these flowers).
They’re super simple to make and I have step by step photos and instructions below as well as video. So let’s get started!
Gumpaste Flowers Tutorial:
A. What you’ll need:
-
- Gumpaste. You can either dye your own gumpaste or buy pre-colored gum paste. You’ll need colored gumpaste for your flowers and green for the leaves.
- Rolling pin.
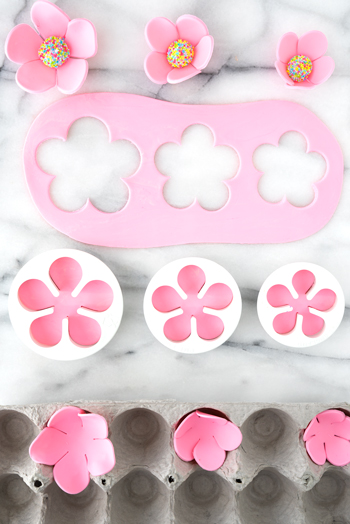
- Rose cutters in three sizes – they are usually sold in groups of three (small, med, large)
- Egg crate – this is where you will set your flowers to dry.
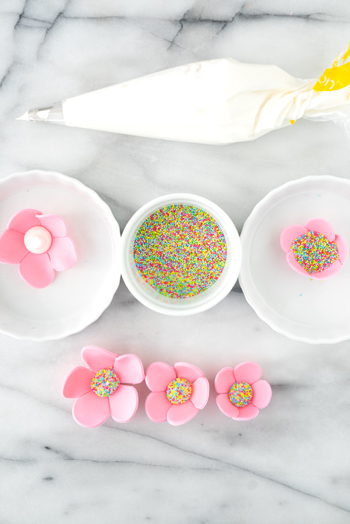
- Royal icing for the flower centers
- Pastel non-perils (sprinkles)
B. Lets begin – roll out your gumpaste really thin on either a silicone mat or a powder sugar dusted surface. Gumpaste is a little tough to get thin so you will have to put a little muscle into it.
C. Cut out as many flowers as you can. Place them gently into the cavities of an egg crate. Repeat with remaining gumpaste. Let dry 3-4 hours, this will also depend on the humidity where you are, how warm/cold it is, etc. I lay the flowers lightly into each cavity, I want them to have a light scoop like a flower but you don’t want them to be completely cupped.
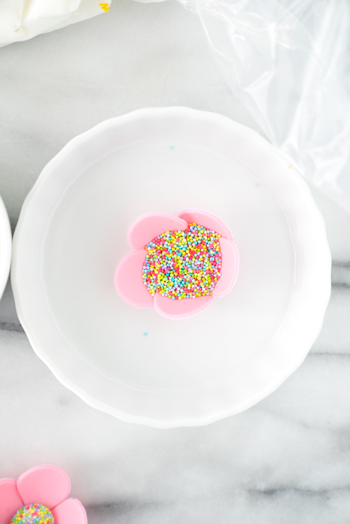
D. Once they had their time to dry get your prepared royal icing (if you need a recipe try this one, cut the recipe in half). Place one to three flowers into a shallow cup. Fill a few flower centers with a dollop of royal icing and fill each with non-perils. Set aside to dry. Repeat with remaining flowers. Let dry completely.
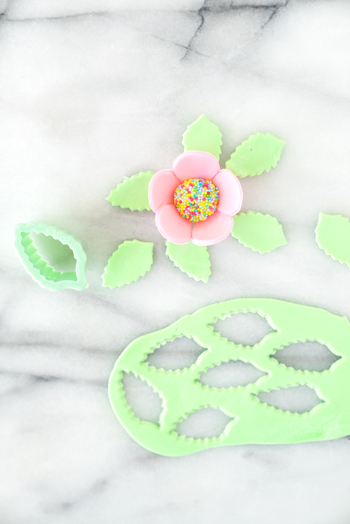
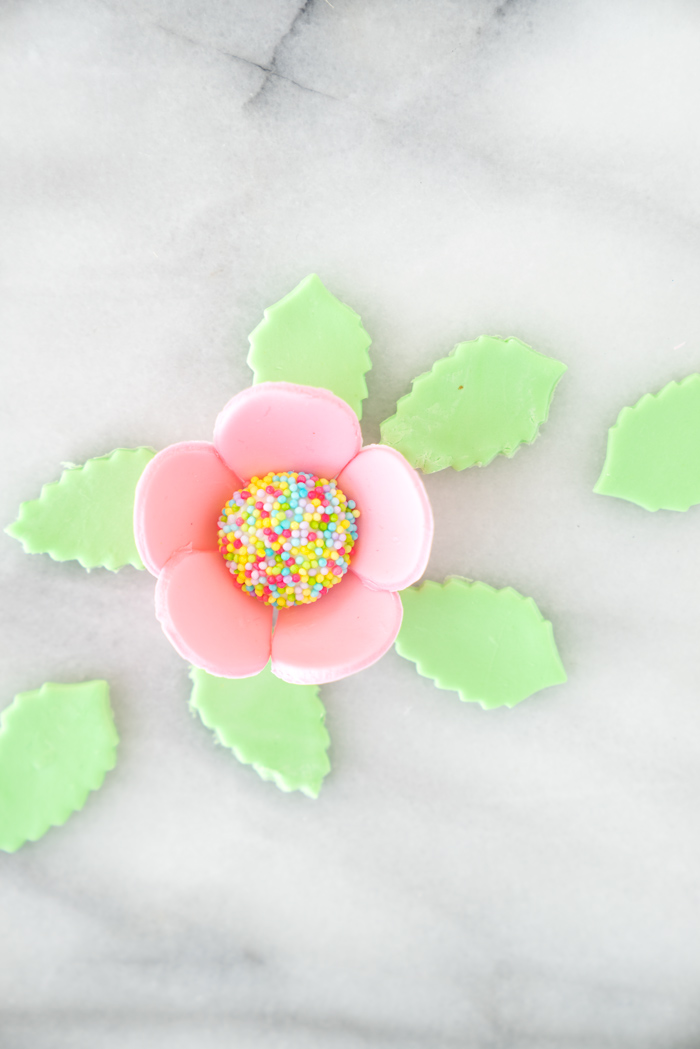
E. Lastly roll out the green gumpaste thin. Cut out the leaves and let them dry.
A few things to note about gumpaste. It fades easily so don’t put it in direct sunlight. Gumpaste can be pliable if half dried, so if you want to bend the petals this is the time to do it. If too dry though it will crack if you try to bend or manipulate it.
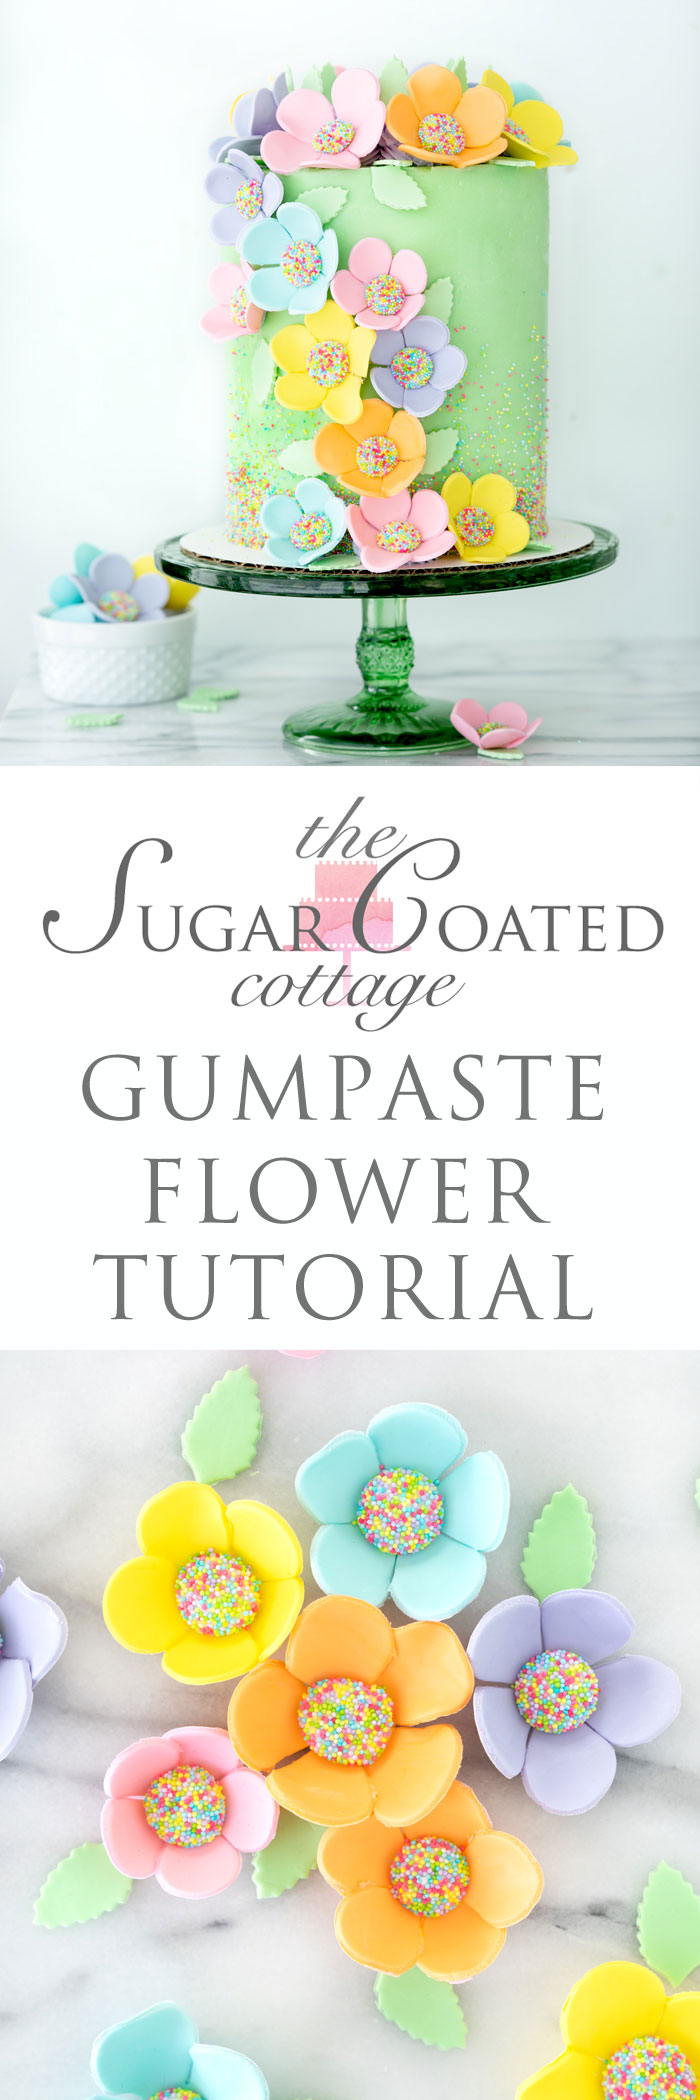
These sweet little gumpaste flowers can be attached to cakes, cupcakes, cookies with a dab of frosting. For the cake above I used American Buttercream, you could also use Swiss Meringue Buttercream or Royal Icing.
Enjoy this Gumpaste Flowers Tutorial to brighten up your baked goods.
Stacey
Here’s a look at the items I used to make these gumpaste flowers. Please note: The below are Amazon Affiliate links, which means if you were to purchase from those links I would get a small commission at no charge to you. Even if you don’t use them the below should give you an idea of what to look for while you are out shopping.
PIN FOR LATER! Thanks.
These are so so sweet. These would be perfect on an Easter cake. I love the pastel colours and how you’ve broken it down into simple steps.
Thanks Marie! You are so right, Easter would be the perfect occasion for these flowers 😉 . Take care.
Adorable and amazing!!! Your cake decorating skill level is so impressive. I’ve never worked with gum paste, but you make it look pretty easy! Nicely done Stacey!
Hi Kathy! Thanks, it kind of reminds me of playing with play doh when I was a kid 😉 . Take care.
I’m loving your tutorials, Stacey! I can’t wait to try these. And you’re definitely not premature on the spring inspired sweets!! 🙂
Thanks Katherine! They have been a fun addition to work on so I’m happy you like them 🙂 . Take care!